One of my favorite parts of traveling is experiencing the natural wonders of the world. Whether it’s watching the sunrise from a mountain peak, or swimming through crystal clear waters, there’s something so soothing about being immersed in nature. Since we’ve entered this new phase of life, where spending more time inside this summer has become our reality, I’ve decided to create a small piece of nature at home – my very own vegetable garden.
So, if you’re bored in the house and want to try out a new hobbie over the summer, here are the steps to create one of your own!
Step 1: Sow Your Seeds
When I started my garden in April, picking up seedlings at a local nursery was not an option, so I opted to grow my garden from seed. However, if you have access to seedlings by all means skip along to step 3.

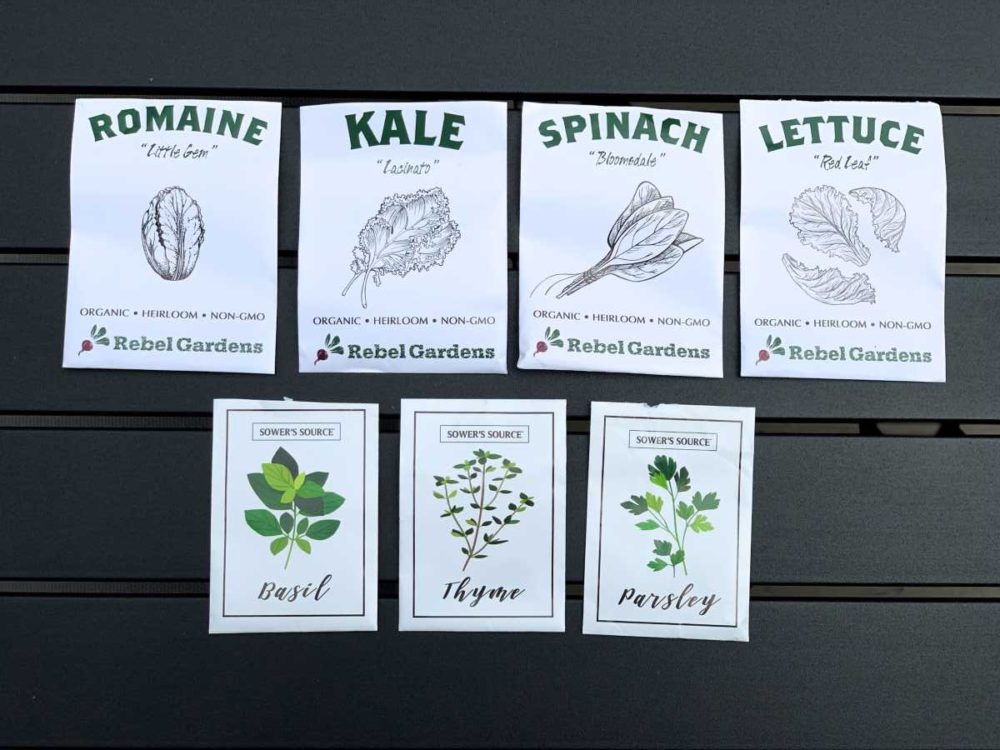
I ordered all my seeds from amazon, with the exception of the tomatoes which I took straight from tomatoes I had ordered from the grocery store. To make the seed trays, I saved a couple plastic egg trays and used them as starting containers. After poking drainage holes in the bottom of each section, I filled the cartons with organic seed starter and planted a few of each seed variety. If you’re starting with dry seed starter, I recommend transferring it to a secondary container and saturating it there before transfering to the egg cartons. This will make the process much easier and ensure that your seeds are planted in a soil with even moisture.
Step 2: Transplant Inside
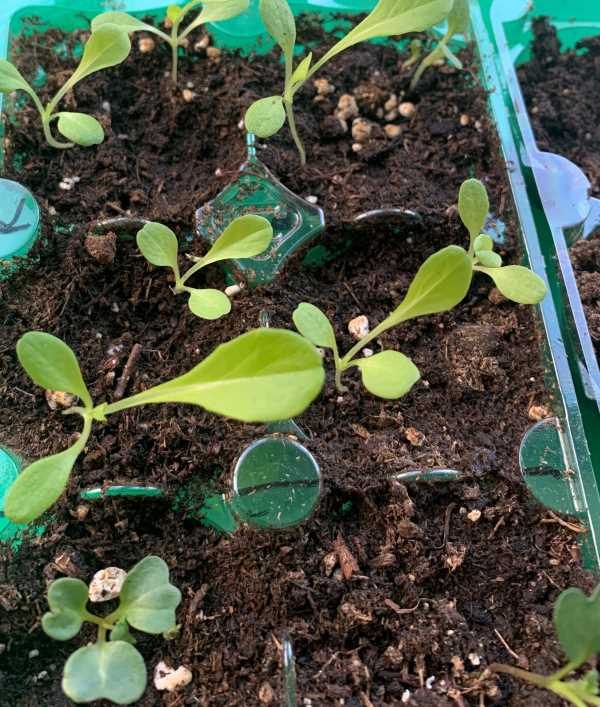
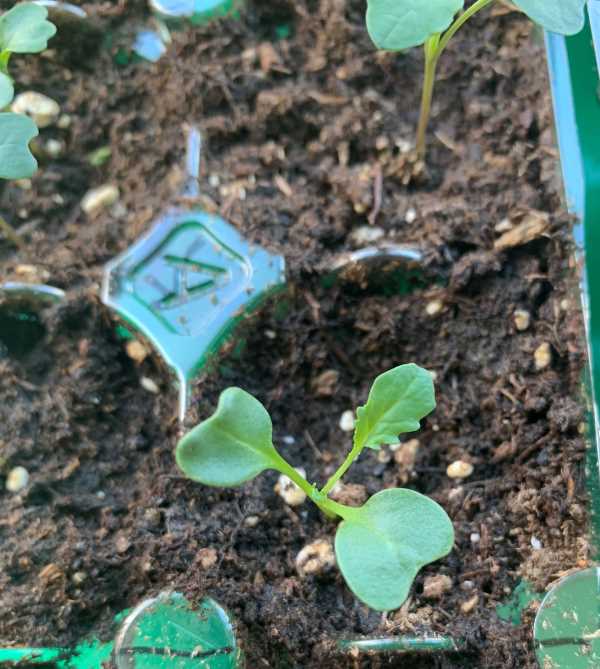
After about a week you should begin to see some of your plants to sprout. Don’t get discouraged if they take longer – my herbs and tomatoes took closer to 2 weeks to see any growth.Once the seedlings were an inch or two tall, I started to transplant them into small indoor containers. Some of my lettuce seedlings began to get very stringy and leggy – I think it was because they weren’t getting enough sun. When I transplanted them I buried their stems as deeply as possible and cut off any leggy leaves that were pulling them down. Although this technique kept them small inside, it allowed me to keep them alive long enough to move outside when it was warmer where they are now thriving.
Step 3: Transplant Outside
Once the weather started getting warmer (above 35 degrees at night), I began to move the seedlings outside starting with the greens. I ordered 36″ rectangular pots and organic potting soil from Home Depot, which I’d highly recommend simply for the free shipping. I spaced the kale about 1 foot apart and the rest of the greens at about 6 inches.
Step 4: Enjoy and Watch Them Grow
Here’s a snapshot of my garden two months in.
The Greens
The Herbs
(not pictured parsley and thyme)
The Tomatoes
As it gets warmer in the upcoming weeks, I’m planning on moving the tomatoes and basil into larger containers outside. So excited for fresh greens, tomatoes and pesto later this summer! – Stay tuned.
-Kira


