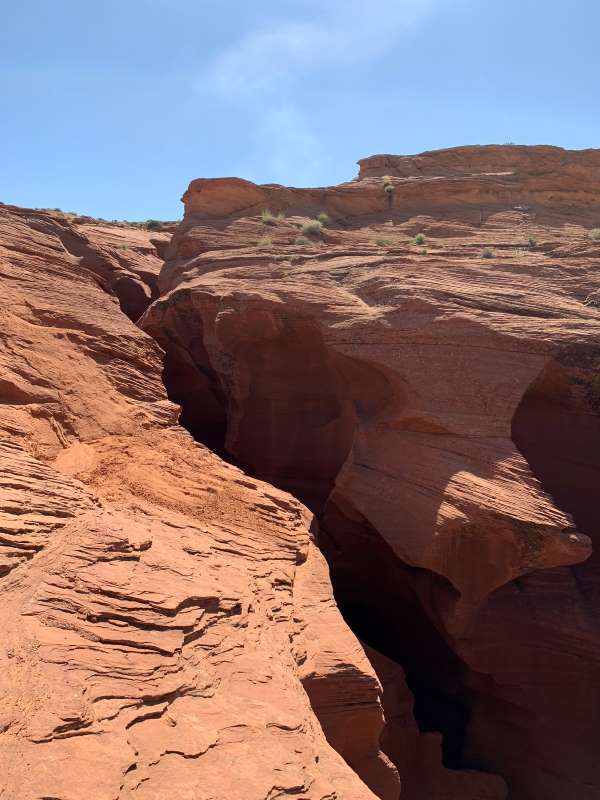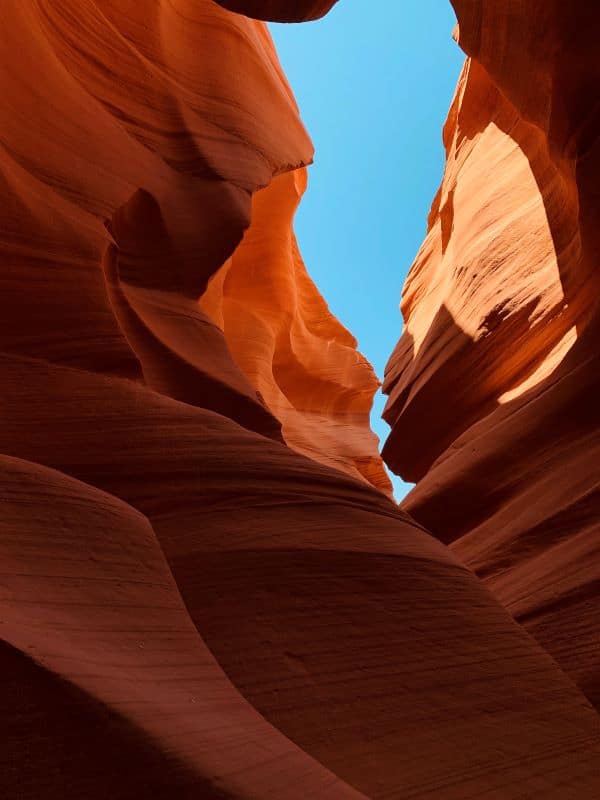
Antelope Canyon located near Page, Arizona is one of the world’s most famous slot canyons. Before going myself – it was hard to imagine how something this vibrant actually existed in nature – but, I can assure you after going myself -it’s all that and more.
There are two sections of Antelope, lower and upper canyon, and they are essentially inversions of each other. The lower canyon is hidden below the ground and is shaped like a V with a narrow walkway and wide opening above that lets the sunlight to pour in and illuminate the walls. Upper canyon is the opposite as you enter at ground level and the canyon shaped like a triangle with a wide walkway and a narrow opening at the top to let in light. Although on my trip I only toured the lower canyon – my tour guide told me that based on his experience – it was the favorite of the two.
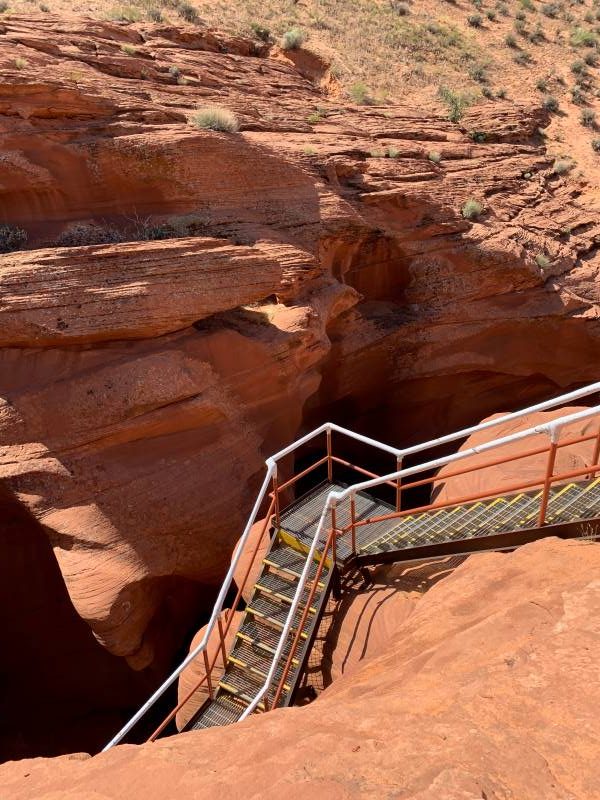
The tour started with sets of steep stairs that ascended into the canyon. This was the most difficult part of the tour and as long as you can go up and down a ladder at home you should be able to do this without a problem.
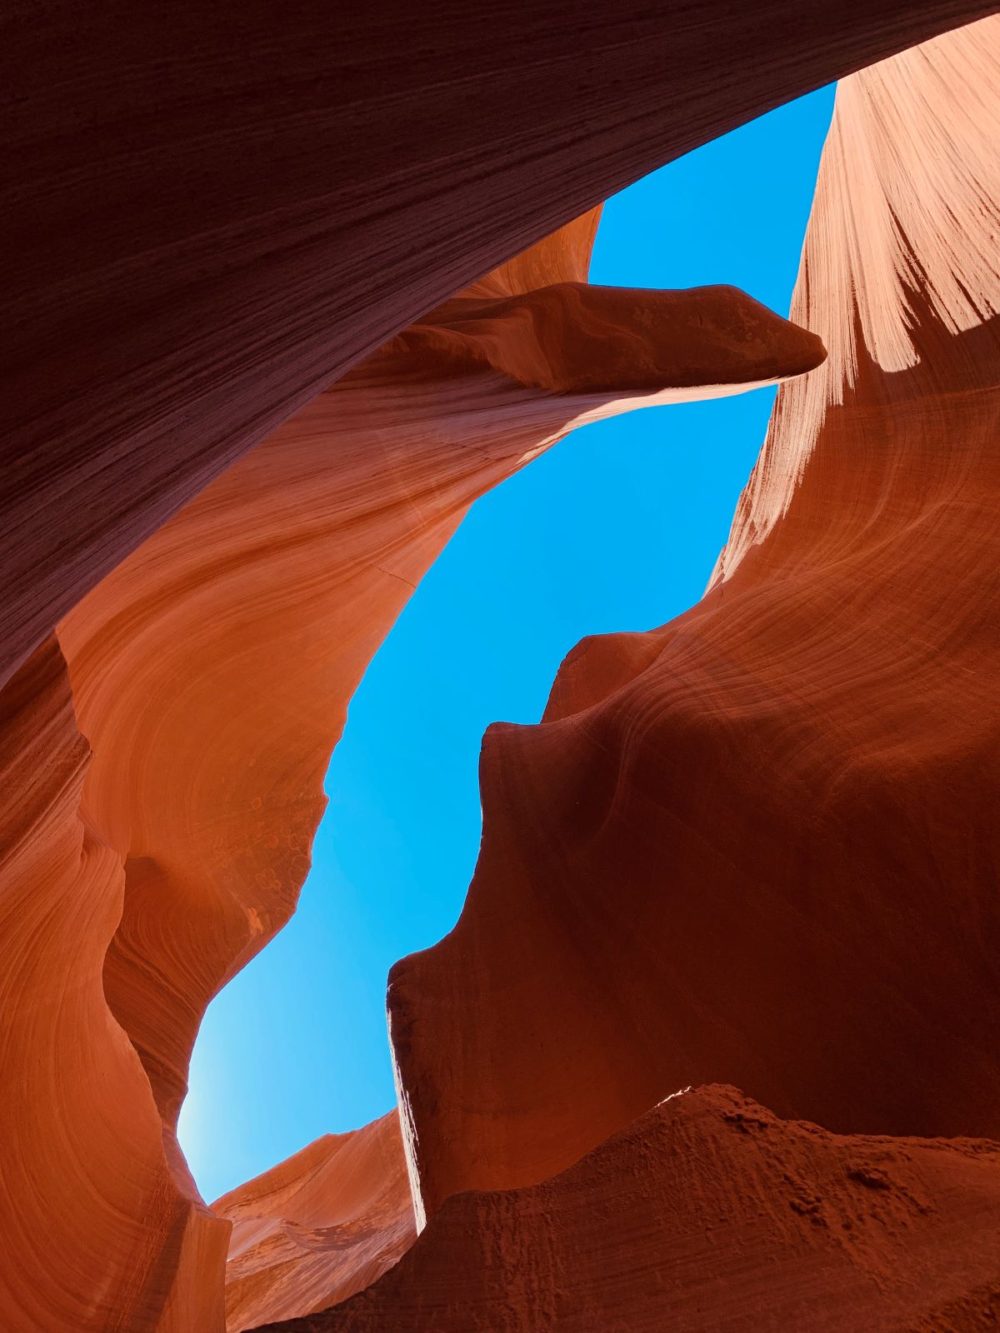
This was one of the first pictures I took after descending into the canyon. We really lucked out with timing and weather – as our tour was in the morning on a sunny cloudless day. I’ll let the pictures speak for themselves, but the cerulean blue sky created such a beautiful contrast against the terracotta canyon walls.
If trying to capture the beauty of this canyon on your iPhone, here are four tips from our amazing tour guide on how to make your photos look professional no mature how armature of a photographer you are.
Table of Contents
1 . Clean your Camera Lens
This might seem super obvious and elementary, but he kept stressing it and would wipe my lens off before every shot. This isn’t something I normally do – but between touching the dusty canyon walls and then holding my phone, this small extra step really made a difference in the clarity.
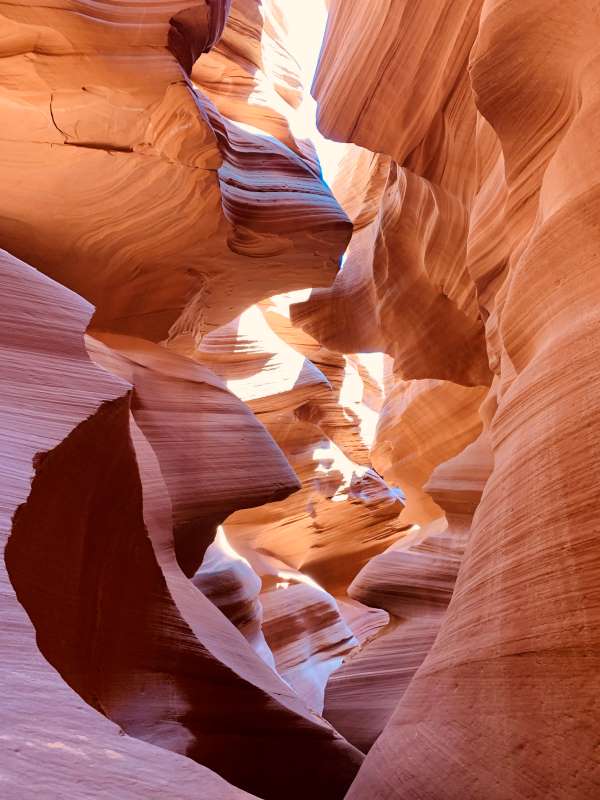
2. Vivid Warm
This was the best tip I could have gotten to capture the canyon. Normally if I want to enhance my photos, I edit them after the fact. I’m not a huge fan of over edited content and I never use the preset iPhone filter options – in fact, before this I don’t think I had ever even opened that feature on my phone. However, if you want images that reflect what the canyon really looks like – add this filter and you’re pictures will instantly look like whats actually there. The trick with this filter is that you have to have it turned on before you take the picture – not lay it over after. I’m not sure exactly why this is – but after trying both options (filter then picture vs, picture then filter) the first by far superior.
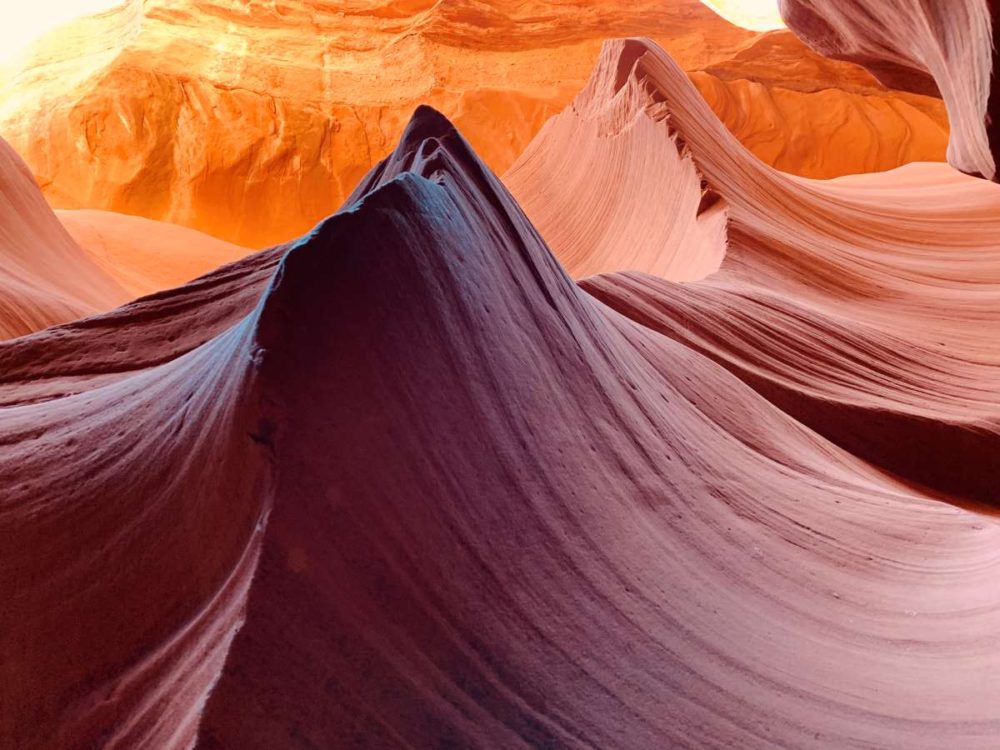
3. Panorama
If you’ve made it thus far in the post – I’m sure you’ve taken a panorama or a “pano” on your iPhone before. But, have you ever used this feature to capture what’s above you?
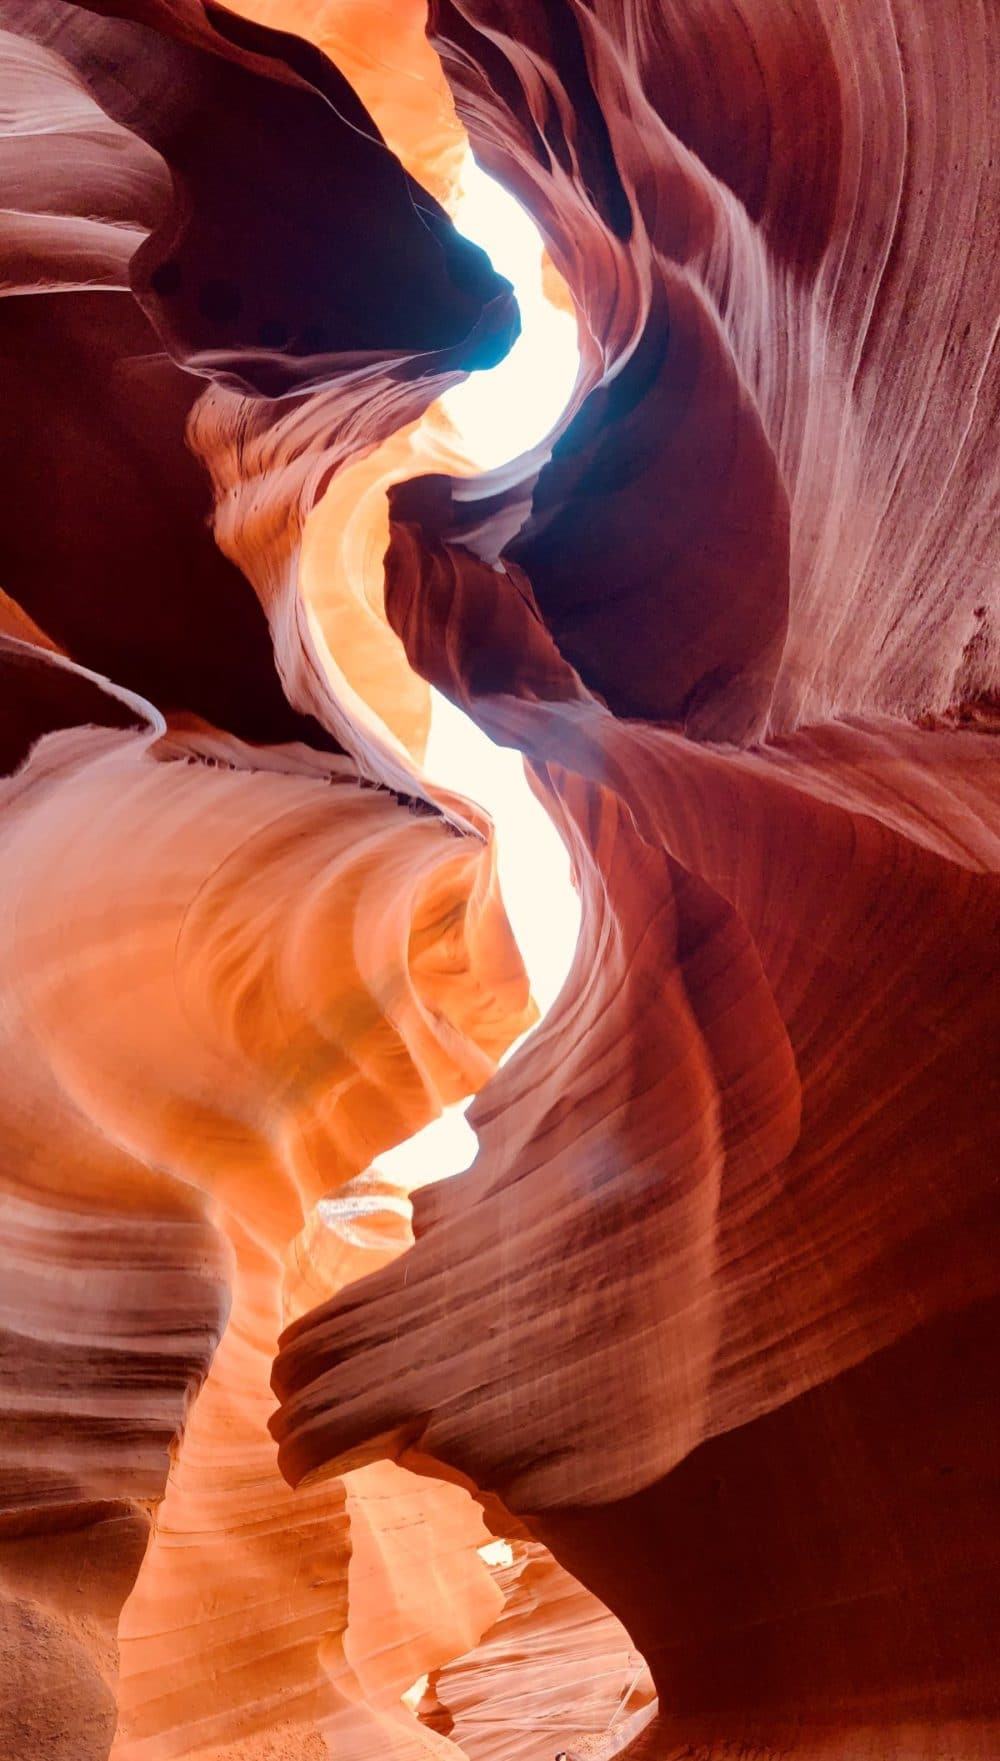
4. Give the Tour Guide Your Phone
The experts know best. Even if you’re got a great eye behind the camera, nothing can beat experience. These guides walk through the canyons daily and over time have figured out the best spots and angles to photograph so that you can impress all of your family and friends back at home.
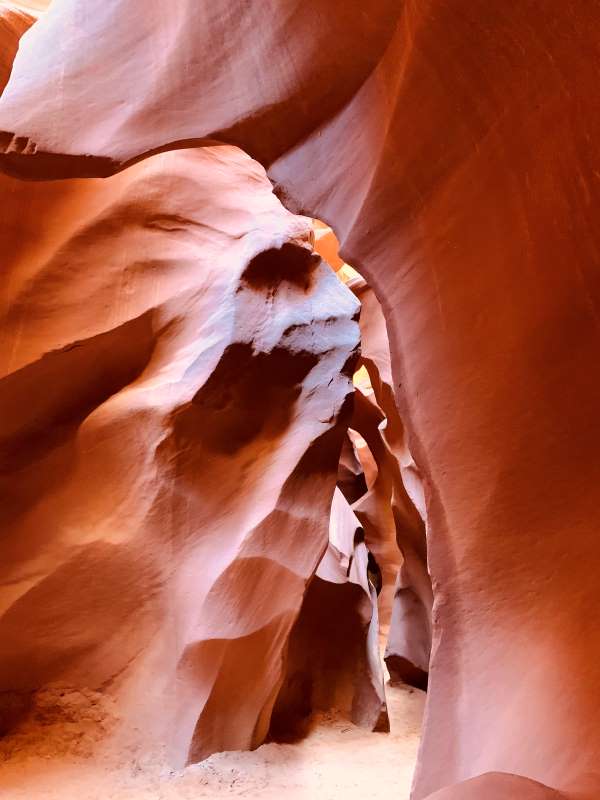
Even though the canyon is ever changing, there were multiple notable locations shown below. My favorite was the Rocky Mountain Canyon, although I have to give full credit to my guide for this as I would have found this shot without him. He took it sideways with my phone faced up against one side of the canyon and quickly swiped through a panorama – voila!
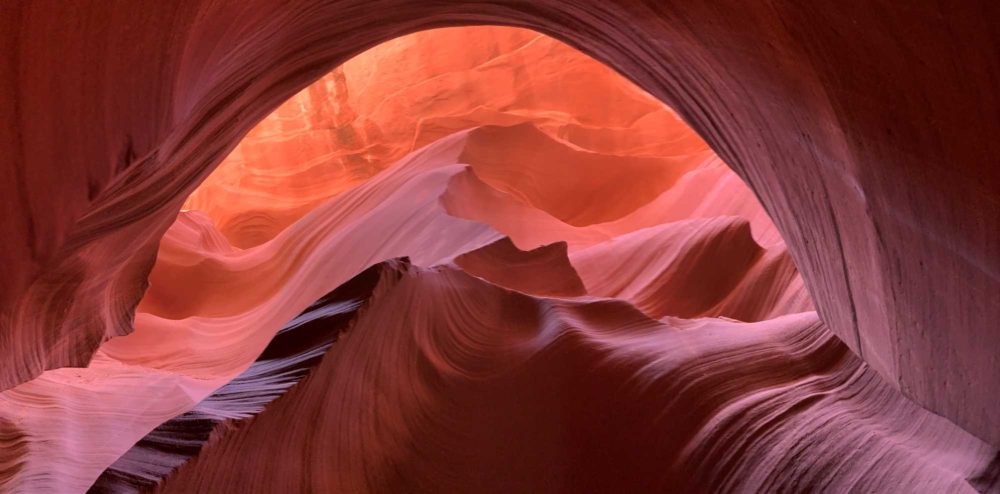
Recognize the image below? It was used as windows 7 screensaver.
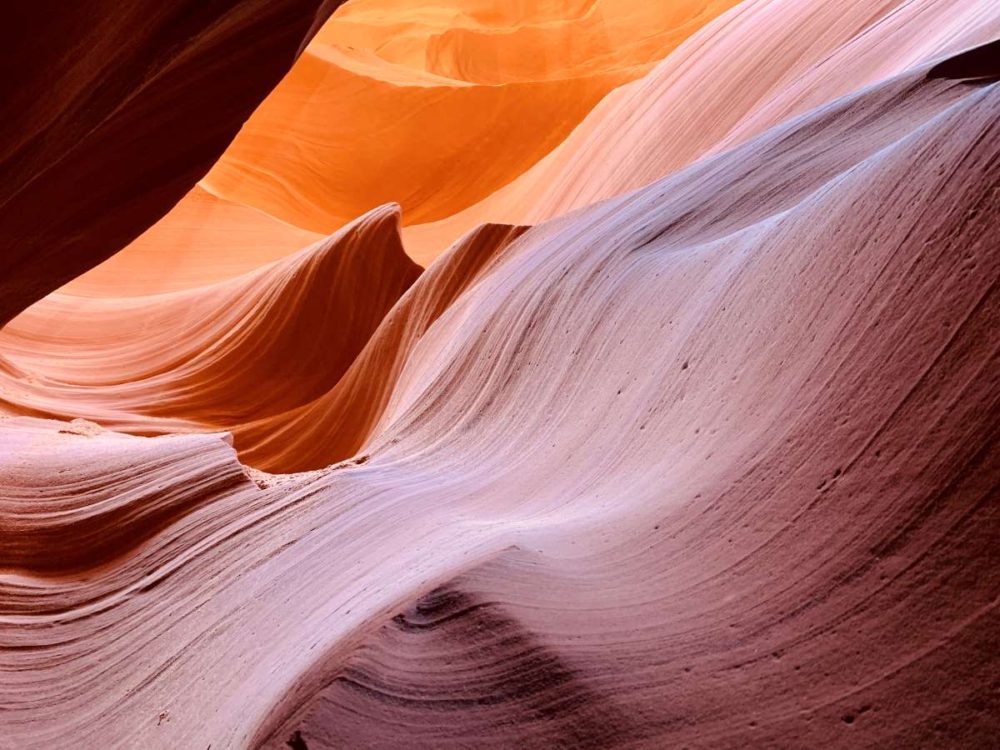
It’s pretty crazy how perspective can completely change an experience. The two photos below are of the very same canyon. The only difference is that the left looks down from above and the right looks up from below.
So, if you’re thinking of headed out West to see some of nature’s greatest geological wonders, don’t forget to add this to your list! You’ll thank me later, I promise.
-Kira
Looking for more more adventures? Click here for more travel tips and guides!
